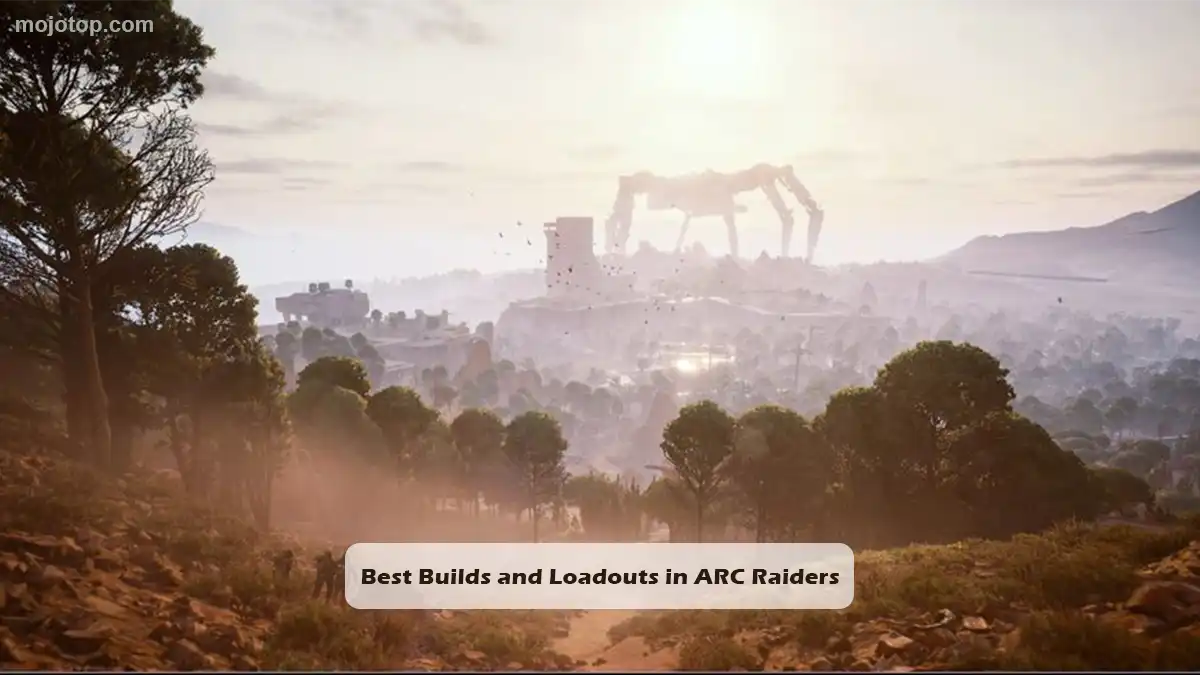
Top 3 Best Builds and Loadouts in ARC Raiders for Every Playstyle
From long-range sharpshooters to close-combat brawlers here are the most effective ARC Raiders builds and weapon loadouts to dominate every encounter.
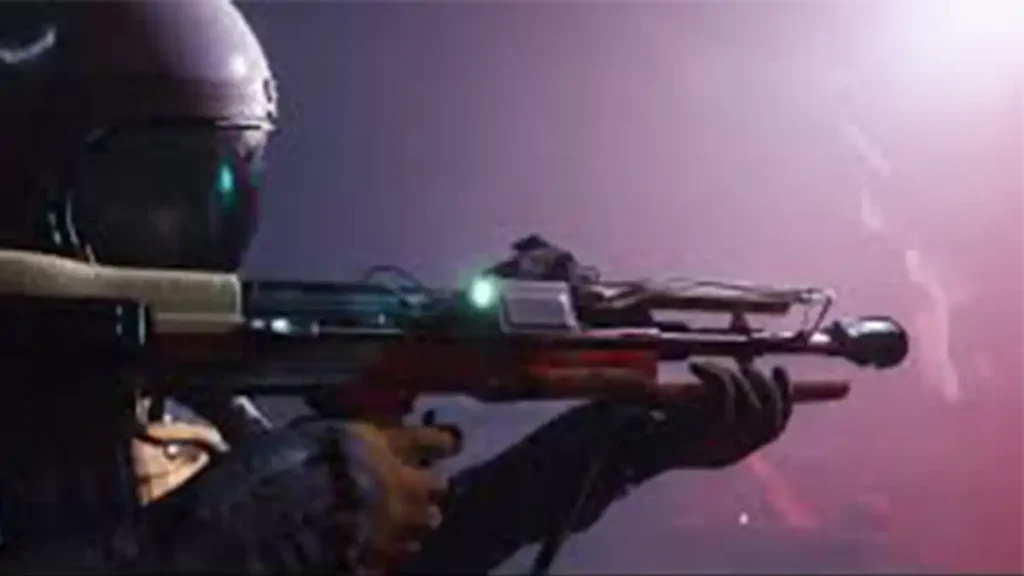
The Long-Range Sharpshooter Build Dominating at a Distance
When you’re looking to specialise in ARC Raiders best builds, the Long-Range Sharpshooter stands out as a premier choice. This build focuses on precision, patience and map control, and is particularly effective for players who prefer tactical positioning over brute-force engagements. With the right gear setup and weapon selection, you can influence the flow of a match by eliminating threats before they ever get close.
Key Principles of the Sharpshooter Loadout
A successful sharpshooter build in ARC Raiders hinges on three main pillars: weapon synergy, gear optimisation, and playstyle adaptation. According to recent guides, building effective long-range setups involves choosing weapons with strong damage at distance, combining them with utility attachments and gear that support aim stability and survival.
Weapon choice: Opt for a primary rifle that offers consistent performance at long ranges high damage, minimal recoil, clear sight-lines. Pair it with a secondary that covers closer encounters, in case enemies breach your vantage point.
Gear and attachments: Stability and aiming speed mods are essential. In addition, light to medium shields help maintain mobility while still providing enough protection to retreat when out-gunned. From loadout breakdowns, the best sharpshooter builds include attachments that boost range, reduce sway, and enhance optic clarity.
Playstyle: As a sharpshooter, your role in team raids or extraction runs is to provide overwatch, eliminate high-value targets, and force engagements on your terms. Staying still is risky mobility, repositioning and map awareness are just as important as the weapon you carry.
If you want to know about ARC Raiders secrets and discover deeper mechanics behind its world, read my previous blog it covers hidden gameplay insights, advanced co-op strategies and how each class can reach its full potential.
Recommended Loadout and Skills
Here’s a refined recommendation for a Long-Range Sharpshooter build in ARC Raiders, tailored to those aiming for one of the top loadouts among the ARC Raiders best builds:
-
Primary weapon: A high-power rifle optimised for distance (choose one with attachments like long-barrel, precision scope, recoil stabiliser).
-
Secondary weapon: A compact weapon or sidearm for emergencies good for when an enemy closes in.
-
Shield: Medium shield preferred to balance mobility and protection; avoid a heavy shield which slows down your repositioning.
-
Utility/gear: Items that support long-range engagement like recon sensors, ranged ammo mods, or gadgets that allow you to reposition quickly (for example, ziplines or grappler hooks). Some loadout guides identify setups that emphasise ranged engagements with support utilities.
-
Skill tree distribution: Focus on Mobility and Conditioning branches early skills like Marathon Runner and Youthful Lungs increase stamina and movement efficiency, while skills such as Used to the Weight and Loaded Arms (Conditioning branch) help mitigate the penalties of gear weight and heavy weapons. Then add key Survival branch perks that improve steadiness and precision under fire.
![Long-range sharpshooter aiming rifle in ARC Raiders best builds guide]()
Why This Build Works & When to Use It
This build works well for players who want to dominate from afar rather than being in the thick of the fight. In extraction and PvPvE modes of ARC Raiders you’ll often find that controlling sight-lines, taking out threats early and staying alive through smarter engagements win more than reckless aggression.
When to use:
-
On open or semi-open maps where you can secure high ground or long sight-lanes.
-
In team compositions where you are the designated marksman, and teammates handle close-quarters threats.
-
In raids where taking out key enemy units (or hostile players) from range offers a strategic advantage.
When to avoid:
-
In very tight indoor maps with minimal long-range opportunities.
-
When loads of close engagements are guaranteed and you’ll be forced into CQB (close-quarters battle) often then a more mobile or all-round build might be more effective.
-
If you’re new to the game and still mastering movement, stamina management and map awareness this build demands more discipline.
Tips for Mastery
-
Always keep backup cover available. Long-range battles invite attention, so have an escape route or reposition plan.
-
Use audio-cues and map knowledge to anticipate enemy movement. A sharpshooter without situational awareness can become vulnerable in flank situations.
-
Manage your stamina and gear weight carefully. Even for long-range builds in ARC Raiders, carrying heavy attachments or gear can impact your mobility and aim. Prioritise attachments that reduce sway or recoil rather than simply adding raw damage.
-
Coordinate with your team. Let them know you’ll cover the long lanes; encourage them to push or distract enemies so you can pick targets safely. This leverages the team dynamic of ARC Raiders’ co-op system.
-
Review and refine your build periodically. As updates come out and meta shifts happen, one of the ARC Raiders best builds might alter slightly stay adaptable.
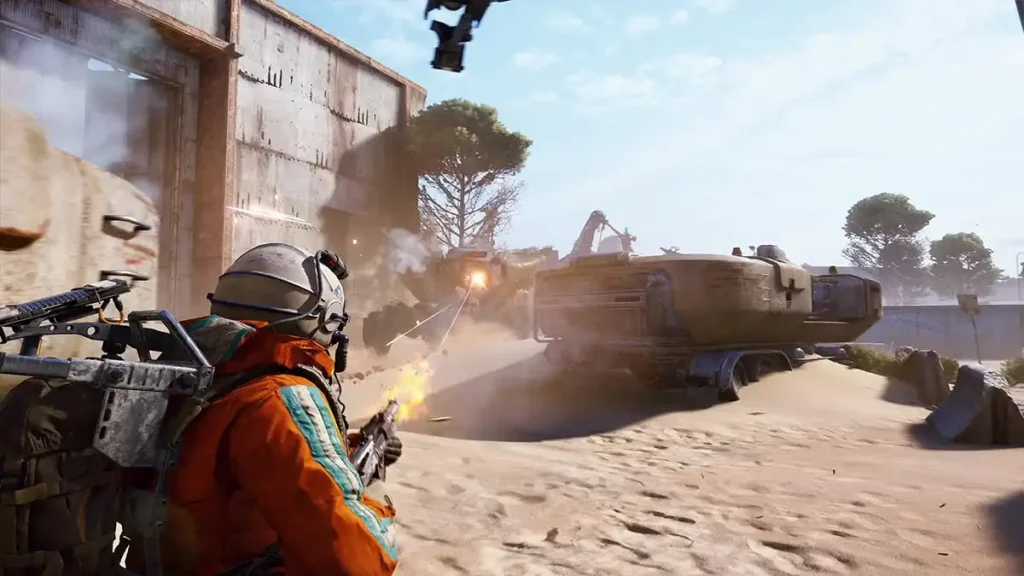
The Heavy Support Enforcer Build
When you explore the realm of ARC Raiders best builds, the Heavy Support Enforcer Build stands out as an ideal choice for players who want to make a difference by holding the line, protecting teammates and controlling key choke points. This build goes beyond pure damage: it is about durability, team coordination, strategic positioning and utility. On my blog about this game I’ve stressed that mastering your role within the squad is just as important as weapon mastery. If you want to be professional in this game, read my blog for deeper insights into each build and its context.
Why Choose the Heavy Support Enforcer Loadout
In ARC Raiders, successful raids often hinge on having a player who can absorb enemy pressure, deploy defensive gear and enable teammates to operate freely. The Heavy Support Enforcer loadout excels at these tasks. By investing in equipment that maximises survivability (such as heavier shields and support utilities) and selecting weapon setups that favour control over raw burst damage, you position yourself as the backbone of your squad. This loadout is particularly well-suited to larger raids, extraction scenarios or missions where enemy fire is heavy and coordinated.
Key aspects include:
-
Shield and armor preference: Medium to heavy shields, reinforced gear, increased HP or damage absorption.
-
Support gear: Deployables (cover shields, barricades), healing or revival items, crowd control utilities (smoke, stun).
-
Weapon choice: Versatile weapons capable of both suppression and defence rather than pure sniper or flanker gear.
-
Team role: Holding ground, enabling others, absorbing attacks, anchoring positions, enabling flank or long-range teammates.
Recommended Gear Setup and Skills for the Support Enforcer
When building your Heavy Support Enforcer in ARC Raiders, focus your loadout and skill tree on durability, utility and team synergy rather than pure solo aggressiveness. Here is a recommended setup:
Weapon and shield choices
-
Primary weapon: Choose a weapon with high sustained fire and good magazine size one that can suppress enemy advances and defend a position rather than relying solely on headshots.
-
Secondary weapon: Keep a reliable close-quarters option for when enemies breach your area.
-
Shield: Select a medium or heavy shield. While light shields favour mobility, the heavy support role benefits from slower movement but higher protection.
-
Utility gear: Deployable cover, energy shields, revival kits, healing packs, grenades for crowd control, or items that assist team survival.
Skill tree and passive perks
Per the skill-tree breakdown for ARC Raiders, build choices emphasise the Conditioning and Survival branches, with a moderate input into Mobility to avoid becoming immobile. Skills that reduce stamina penalty, increase health recovery, improve downed timers, and reduce gear-weight penalty are highly beneficial.Suggested point allocation (example)
-
Conditioning branch: Focus on Used to the Weight, Loaded Arms, Survivor’s Stamina to handle heavy gear and recover under pressure.
-
Survival branch: Invest in Broad Shoulders, Downed But Determined, In-Round Crafting if you wish to aid the team via resource processing.
-
Mobility branch: A few points in Marathon Runner or Youthful Lungs to ensure you can reposition when needed.
These choices align with many recommended setups among the ARC Raiders best builds.
![Sniper on elevated position during raid mission in ARC Raiders best builds]()
How to Use the Heavy Support Enforcer Build Effectively
Having the right gear and skill-tree is only part of the equation. To truly excel with the Heavy Support Enforcer build, you must adopt the correct mindset and operational tactics:
-
Positioning is key: Choose high-traffic areas or chokepoints in raids where enemies must pass. Deploy your cover gear, set up a defensive perimeter and hold your ground.
-
Team synergy: Communicate with your teammates let them know you will hold a zone, they should push or flank. Your role isn’t to lead the assault but to enable it.
-
Risk vs Reward: While you can absorb damage, you’re still vulnerable to coordinated attacks or flanking. Keep an exit plan, and don’t get locked down without mobility.
-
Manage gear weight and stamina: Heavy support gear is rewarding but can slow you down or drain stamina faster. Use the skill tree to mitigate penalties and monitor your stamina bar.
-
Adapt the loadout for the mission: If the raid has many close-quarters encounters, adjust your secondary weapon and utility gear accordingly. The best of the ARC Raiders best builds is the one that adapts to each mission scenario.
When to Use This Build and When to Switch
This build shines in team-based raids, larger extraction runs or scenarios where enemy numbers and pressure are high. If you expect lengthy firefights, large enemy waves or other players coordinating attacks, the Heavy Support Enforcer loadout gives your squad stability and sustainability.
However, if you’re going solo, moving across open terrain, or playing maps with heavy verticality and speed emphasis, this build may feel clunky and slow. In those cases, one of the more mobile or loot-focused builds might be more effective.
The Agile Scout / Flanker Build
When exploring the array of ARC Raiders best builds, the Agile Scout / Flanker build stands out as a dynamic choice for players who prefer speed, evasiveness and tactical disruption over sheer frontal assault. If you’ve read my blog about this game before, you know I emphasise how mastering your role and movement is just as crucial as mastering weapons. This build focuses on hit-and-run engagements, battlefield awareness and exploiting weak points in the enemy’s formation.
Why the Agile Scout / Flanker Loadout Works
In ARC Raiders, missions often reward players who can reposition fast, flank enemy squads and exploit sight-lines rather than simply trade bullets head-on. The Agile Scout / Flanker loadout gives you the tools to do exactly that: light gear, high stamina, movement-enhancing skills and weapons that allow quick engagements with fast exits. This setup is ideal for solo operations or small squads that need someone capable of disrupting enemy plans and gathering crucial intel for their team.
Key advantages of this build include:
-
Elevated mobility and dodge capability.
-
Flanking potential and ambush power.
-
Quick extraction capability thanks to mobility optimisation.
-
Ideal for maps or raids where verticality, cover-to-cover movement and surprise attacks matter more than static firefights.
Recommended Gear Setup and Skills for the Agile Scout / Flanker Build
When crafting one of the top ARC Raiders best builds under the flanker role, you should prioritise loadout choices and skill-tree points that emphasise movement, stamina efficiency and stealth tactics rather than heavy armour or suppression fire.
Weapon and gear suggestions
-
Primary weapon: A quick-handling assault rifle or SMG that allows you to engage mid-range with speed, but also pivot quickly into close combat when needed aim for attachments that reduce ADS time, improve movement speed when aiming, or reduce recoil when moving.
-
Secondary weapon: A highly mobile sidearm, shotgun or SMG for fast finishers in close-quarters when your flanking manoeuvre forces the fight.
-
Shield/defensive gear: Choose a light or medium shield. Avoid heavy shields that hamper mobility your build thrives on repositioning, not standing ground for extended fire exchanges.
-
Utility and gadgets: Mobility-enhancing gear such as grappling hooks, zip-lines, or sprint-boost devices; also consider stealth or distraction tools (smoke grenades, decoys) that help you slip behind enemy lines or force a flank.
-
Skill tree allocation: Focus heavily on the Mobility branch (improved sprint, dodge roll, vault speed), moderately on Conditioning (stamina recovery, gear-weight penalties) and selectively on Survival (stealth perks, noise reduction, flanking bonuses). These skill-tree choices align with building one of the stronger ARC Raiders best builds for agile play.
How to Execute the Agile Scout / Flanker Strategy
Possessing the right loadout is just the start you must adopt a flanker mindset and phase your engagements correctly to get full value from this build.
-
Map awareness & positioning: Study the terrain before committing. Use flank routes, high ground or alternative paths that bypass the enemy’s main advance. Your mobility allows access to angles others may ignore.
-
Trigger engagements on your terms: Don’t dive head-on. Use skin-out tactics: engage briefly, disrupt enemy formation, reposition or escape before the counter-attack arrives.
-
Communicate with your team: As the scout/flanker, you’re not always in the centre of the fight. Let your team know you’ll handle flanking and distractions so they can apply pressure in the main lane.
-
Stamina and momentum management: Because this build leans into speed, you’ll expend stamina rapidly in sprints and vaults. Use your Conditioning skills and light gear load to maintain mobility during prolonged fights.
-
Adapt to map type and mission objective: On open maps with long sight-lines, your speed helps you avoid being pinned. In tight indoor maps, you’ll rely on surprise and close-quarters weapons adjust your secondary weapon and utility accordingly.
When to Use the Agile Scout / Flanker Build and When to Consider a Different Role
This build excels in scenarios where movement, stealth and disruption trump a static support or sniper role. It works best when your squad already contains heavy support or long-range specialists (i.e., you complement the team rather than replicate tasks).
Best suited for:
-
Maps with verticality, multiple flank routes or structures to traverse.
-
Extraction runs where speed matters and surviving is as important as looting.
-
Small-team compositions where one member specialises in flanking and reconnaissance.
Less suited for:
-
Heavy assault or suppression missions where staying in front and holding ground is required.
-
Roles where you need to absorb enemy fire rather than avoid it.
-
Players who prefer slow, methodical engagements and heavy armament such players might be better served by a heavy build or long-range sniper build.
-