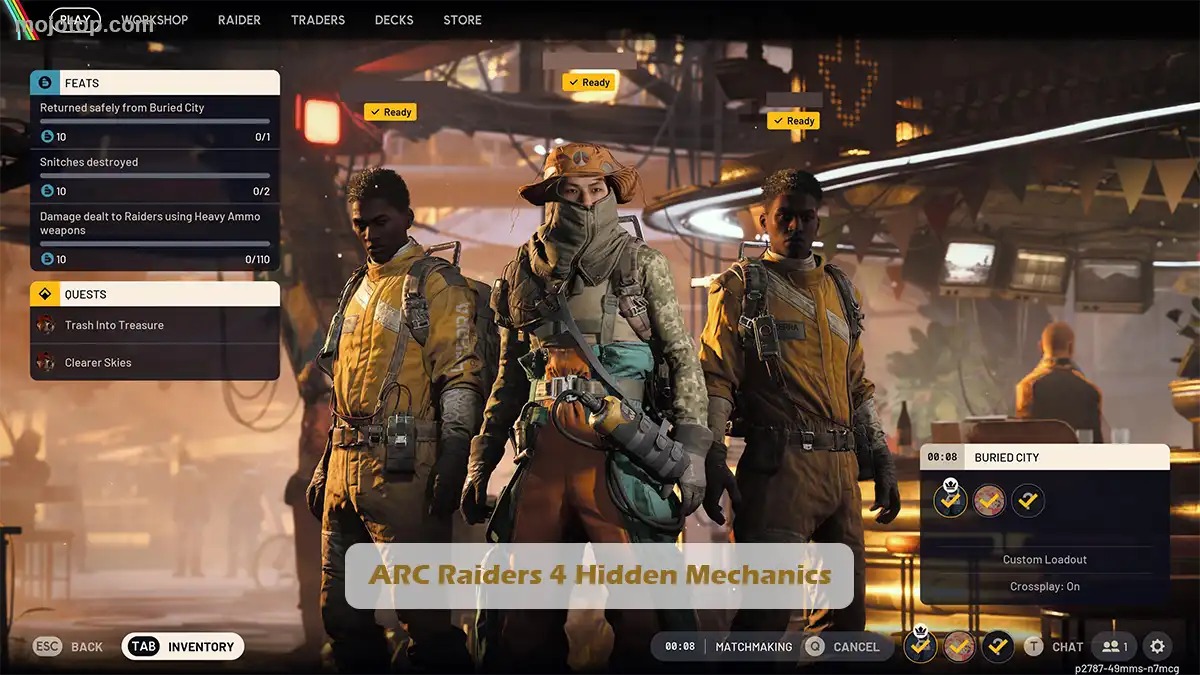
ARC Raiders: The 4 Hidden Mechanics Nobody Tells You About
Discover the hidden mechanics, tactical insights and pro-level tricks that separate casual players from elite raiders inside ARC Raiders.
Hidden Stamina & Mobility Scaling: The Most Underrated Power in ARC Raiders
One of the least explained mechanics in ARC Raiders is how stamina and movement scaling quietly control almost every fight you take. On paper, players focus on damage numbers, gun rarity, and “meta” builds, but in practice your real power curve in this extraction shooter comes from how efficiently you move, sprint, dodge, and reposition during raids. Early on, the game deliberately limits your stamina and mobility, which is why many new players feel the game is “slow” or overly punishing until they understand how the underlying systems work.
Behind the scenes, ARC Raiders progression is built around three main skill trees: Mobility, Conditioning, and Survival. The Mobility tree is not just “nice to have” – it is effectively your hidden difficulty slider. Upgrades that improve sprint duration, stamina regeneration and movement efficiency dramatically change how much risk you can take in open areas, how safely you can rotate between covers, and how easily you can disengage from bad fights. Guides that analyse the best early skills consistently recommend grabbing Mobility perks first, because without them you are constantly out of breath, stuck in the open, or too slow to escape ARC patrols.
This has a direct impact on your loadout and any ARC Raiders special weapon comparison you make. Heavy weapons, precision rifles, or close-range shotguns all perform completely differently depending on how fast you can move around the map. A battle rifle with great stats on paper feels terrible if your stamina bar collapses after one sprint, leaving you exposed. Conversely, once you invest into movement skills, even “average” weapons start to shine because you can choose smarter angles, kite enemies, and reset engagements instead of trading damage face-to-face.
Stamina and mobility also shape your loot and progression efficiency. Since the game expects you to extract materials over many runs, being able to move quickly between objectives, containers and exit points is a silent multiplier on your long-term power: more safe extractions means more resources, faster upgrades and quicker access to stronger gear and skills. Loot-focused builds that prioritise movement and carry capacity perks often end up progressing faster than raw damage builds, simply because they survive more raids and bring back more materials.
The key takeaway is that the most important “hidden mechanic” in ARC Raiders isn’t a secret damage formula or obscure status effect—it’s how much the game rewards players who treat stamina, sprint recovery and movement skills as core parts of their build. If you feel every fight is a struggle, start by upgrading Mobility, then reassess your weapons. Many players only realise later that what they thought was a weak gun was actually a weak movement build.
Damage Scaling & Weak-Point Multipliers
Damage in ARC Raiders is not a flat number. Every shot you fire goes through a layered combat system that determines how much real damage reaches an ARC machine or human raider. This system includes base weapon damage, ammo type behavior, armour tiers, stagger thresholds, and weak-point multipliers. Understanding these hidden rules is essential for optimizing any build and for performing accurate ARC Raiders special weapon comparison analysis.
Base Damage & Ammo Type Influence
Each weapon in ARC Raiders has a fixed Base Damage Value defined in the official weapon stats. For example, Heavy Ammo weapons such as Ferro deliver higher single-shot impact, while Medium Ammo weapons like Renegade trade damage for increased fire-rate. However, these values are only the starting layer. The actual damage that lands depends on how the enemy’s armour reacts to that ammo type, as ARC units have different resistances depending on their construction class.
For instance, ARC machines with reinforced plating reduce incoming damage more aggressively, meaning high-damage single-shot weapons perform best if you target exposed weak points rather than armour plates. Lighter enemies, including raiders and drones, take damage closer to the weapon’s listed base value, making sustained-fire weapons more effective.
Weak-Point Multipliers (The Real Damage Source)
Almost every ARC unit has at least one critical weak point that applies a damage multiplier when struck. These multipliers commonly range from 1.5x to 3x depending on the enemy type and the severity of the exposed component. Weapons with high accuracy, strong stability, or precision-friendly firing modes naturally perform better in weak-point targeting.
This is why the Renegade, despite its lower base damage compared to Ferro, frequently reaches higher real-world DPS: its higher rate of fire gives players more chances to strike weak points in rapid succession. On the other hand, high-impact weapons like Ferro can instantly shatter exposed components if the shot connects with a critical node.
Armour Reduction & Stagger Thresholds
ARC Raiders also applies armour reduction before weak-point multipliers. This means hitting plated surfaces reduces your effective DPS significantly, especially when using ammo types listed as “Weak” against armour. Some enemies also have stagger thresholds — if you deliver enough damage in a short burst, you interrupt their attacks or movement. Burst weapons, explosives and high-impact rifles excel here, making armour-stagger strategies an important part of high-level play.
Why These Mechanics Matter for Weapon Performance
Damage scaling is the reason why two weapons with similar listed stats can perform very differently during real missions. A rifle with lower base damage but strong weak-point consistency may outperform a heavier weapon unless the heavy rifle lands perfect hits. Conversely, high-damage break-action guns dominate against high-value targets because their weak-point multiplier output is enormous when precision shots land.
For players comparing special gear or evaluating an ARC Raiders special weapon comparison, understanding these hidden mechanics helps explain why:
-
High-rate-of-fire weapons excel against mobs and fast weak-point cycling
-
Heavy ammo weapons punish exposed weak-points instantly
-
Armour-resistant enemies require precision or stagger tool.
-
DPS values on paper do NOT reflect true combat output without multipliers
AI Manipulation & Enemy Reset Patterns: How to Control ARC Patrol Behavior in ARC Raiders
Understanding how ARC units think, react and reset their aggression is one of the most overlooked advantages players can use when exploring hostile zones in ARC Raiders. While most players focus on raw combat stats or weapon builds, mastering enemy AI patterns gives you control over the battlefield, especially when playing solo or when performing stealth-oriented routes. ARC machines follow specific rules for vision, sound detection, patrol rotation and aggro reset timers, and by learning these systems you can consistently outmaneuver them even when outnumbered.
ARC patrols operate on predictable “awareness stages.” When they first detect noise or movement, they shift from passive patrol to investigative mode. This does not immediately trigger combat but instead sends them toward the last known position you created. If you leave the area before they arrive, they return to their patrol route after a short reset period. This behavior allows skilled players to manipulate encounters—luring ARC units away from chokepoints, opening safer traversal paths or creating separation between grouped patrols. These enemy reset mechanics are especially important in locations with heavy patrol density, such as Dam Battlegrounds, Buried City ruins or extraction-zone outskirts.
The most important factor is understanding detection radius and line-of-sight rules. ARC units respond aggressively when you stay within their visual cone or make loud weapon noise in close proximity. Using terrain elevation, cover transitions and silent weapons enables you to break line-of-sight quickly, forcing AI to lose your trail and begin their awareness decay cycle. This is where concepts like aggro reset and enemy disengagement become essential. Once ARC units stop receiving visual or audio confirmation of your position, they follow a predictable cooldown and eventually return to neutral patrol behavior.
Players can also exploit patrol rotation timing. ARC units turn, pause and scan at specific intervals. Learning these loops lets you bypass strong mechanical units without combat, set ambushes during their scanning downtime or reposition before they complete a rotation. This technique is heavily used by experienced players who combine stealth movement with long-range weapons, and it directly influences your loadout decisions. While the broader ARC Raiders special weapon comparison informs which high-impact tools you bring, understanding AI control determines when you should fire, when you should hide and when you should reposition for a safer angle.
Another key mechanic is AI clustering and de-syncing. When multiple patrols overlap, triggering all of them at once creates high-risk engagements. However, by intentionally revealing yourself to only one unit, then breaking line-of-sight, you can separate that enemy from its group and reset the others. This method is extremely effective in map zones where ARC machines guard resource caches or high-tier loot spawns. By controlling attention and forcing isolated engagement windows, you make mid-tier weapons feel stronger and reduce the need for heavy gear.
Mastering ARC AI behavior isn’t about exploiting glitches—it’s about understanding how the enemy sees, thinks and resets. By learning their awareness stages, patrol routes, sound detection rules and reset timers, players can turn difficult zones into manageable encounters. Whether you rely on stealth, long-range rifles or aggressive solo builds, this knowledge gives you a strategic advantage that raw firepower alone cannot provide in the evolving world of ARC Raiders.
Resource Exploits, Map Timings & Loot Refresh Cycles You Never Noticed in ARC Raiders
Mastering ARC Raiders requires more than strong aim or powerful loadouts. One of the most overlooked advantages comes from understanding map timings, resource spawn cycles, and how loot refresh patterns actually work across active battlegrounds. These mechanics are not explained in-game, yet they significantly impact your efficiency—especially during high-risk raids or when competing against other raiders for limited supplies. In this section, we break down the hidden systems players often miss, making it an essential part of any ARC Raiders special weapon comparison or progression guide.
Undiscovered Resource Patterns Across Battlegrounds
Most players assume loot spawns are random, but resources in ARC Raiders follow predictable category cycles. Certain item types—healing supplies, mech components, crafting materials, or ammunition caches—appear more commonly in designated environmental clusters. For example, industrial zones and collapsed infrastructure areas tend to spawn mechanical salvage and heavy ammo, while residential ruins produce more medkits and light ammo. Understanding these patterns allows solo players and squads to route efficiently instead of wandering through empty zones.
How Map Timings Affect Loot Density
Enemies and environmental resources respawn based on region activity cycles, not universal timers. This means that areas left untouched for longer periods often regenerate a higher concentration of loot, while continuously contested areas tend to produce fewer resources. In maps like Dam Battlegrounds or Buried City, players who rotate between outer zones and return later often encounter refreshed loot that other teams overlook. This timing awareness is crucial during extraction missions, where repositioning smartly gives you far better survival odds than simply engaging every enemy wave head-on.
Loot Refresh Mechanics Players Ignore
Loot does not refresh instantly after raids. Instead, refresh cycles align with:
-
Zone reset intervals
-
Enemy repopulation events
-
Environmental hazard shifts
-
ARC patrol migration
These factors determine when a previously empty area becomes worth revisiting. Recognizing when a zone has entered a “repop state” helps you optimize your farming routes and maintain consistent ammo and gear availability without relying on random luck.
How This Impacts Your Combat Strategy
Knowledge of resource cycles directly improves your performance, especially when using advanced gear or high-consumption weapons. Understanding where heavy ammo appears more frequently supports battle rifles and special weapons; knowing medkit spawn patterns benefits solo loadouts; learning optimal loot timings lets you prepare before engaging ARC machines with strong armor plating. This deeper awareness becomes a natural extension of your weapon choices, perk builds, and mission strategies across ARC Raiders.
Conclusion
Understanding the hidden mechanics in ARC Raiders is what separates casual raiders from truly elite players. Once you recognize how enemy behavior shifts under pressure, how stamina interacts with movement efficiency, and how damage calculations scale across different weapon categories, the entire game opens up in a new way. These systems are not explained in-game, yet they influence every firefight, every rotation, and every extraction decision you make.
By applying these advanced insights, you gain a real advantage: cleaner engagements, smarter use of cover, more efficient weapon swaps and significantly better survival rates during high-intensity encounters. Whether you prefer long-range precision or aggressive push tactics, understanding these underlying rules ensures your strategies align with how ARC Raiders actually functions behind the scenes.
In the end, mastering ARC Raiders’ hidden mechanics is not about memorizing numbers—it’s about reading the battlefield, anticipating how enemies will react and making decisions that keep you ahead of every encounter. Players who internalize these systems will consistently outperform those who rely only on surface-level gameplay. With this deeper knowledge, you’re equipped to take full control of every raid, adapt to any threat and play the game the way top raiders do.